
| 일 | 월 | 화 | 수 | 목 | 금 | 토 |
|---|---|---|---|---|---|---|
| 1 | 2 | 3 | ||||
| 4 | 5 | 6 | 7 | 8 | 9 | 10 |
| 11 | 12 | 13 | 14 | 15 | 16 | 17 |
| 18 | 19 | 20 | 21 | 22 | 23 | 24 |
| 25 | 26 | 27 | 28 | 29 | 30 | 31 |
- ctf
- 리버싱
- Nop Slide
- termux
- RITSEC
- Linux
- CodeEngn
- Hackerschool
- x64dbg
- writeup
- 리눅스
- HackCTF
- webhacking
- 뉴스클리핑
- 웹해킹
- reversing
- Python
- Next.js
- PWN
- SQL Injection
- NewsClipping
- 버퍼오버플로우
- RITSEC CTF 2019
- 보안뉴스
- requests
- Shadow 동아리
- ftz
- BOF
- 어셈블리어
- buffer over flow
- Today
- Total
Jaeseo's Information Security Story
Activity 생성 및 Activity 간 전환 본문
-
Activity 란?
: UI가 있는 화면을 제공하는 component!
시스템은 새로운 Activity을 시작하면 BackStack에 담고 나서 사용자에게 보여 준다.
BackStack은 "LIFO"의 스택 메커니즘을 따르며, 사용자가 ◀ 버튼을 누를 경우, 스택의 최상위(top)에 있는 현재 Activity을 제거(pop and destroy)하고 이전의 Activity을 시작한다.
-
Activity의 생성
-
Activity Class의 상속
: 안드로이드의 Activity에 대해 정의를 하기 위해서는 Activity 클래스을 상속 받아서 사용해야 한다.
-
Activty 클래스(android.app.Activity)
: 해당 안드로이드 버전의 기본 라이브러리 액티비티 클래스이며, 모든 다른 액티비티 클래스는 이 클래스의 서브 클래스가 된다.
-
FragmentActivty 클래스 (android.support.v4.app.FragmentActivity)
: 과거 버전과의 호환성을 유지하면서 프래그먼트를 사용할 때 필요한 액티비티 클래스다.
-
AppCompatActivity 클래스 (android.app.support.v7.app.AppCompatActivity)
최근에는 Default로 사용중
: 과거 안드로이드 버전과의 호환성을 유지하면서 새로운 버전의 기능도 사용할 수 있도록 만든 액티비티 클래스다. 이 클래스는 안드로이드 6.0(마시멜로)의 새로운 기능(Material Design 관련)도 많은 부분 구현하고 있다. 이런 이유로 안드로이드 스튜디오 1.5 버전부터는 프로젝트 생성 시에 액티비티를 AppCompatActivity 클래스의 서브 클래스로 생성해준다.
-
-
XML Layout 정의
: UI 요소를 XML로 선언. Android는 위젯과 레이아웃 등과 같이 View 클래스와 하위 클래스에 해당하는 간단한 XML 어휘를 제공한다. Android Studio의 Layout Editor를 사용하여 드래그 앤 드롭 인터페이스로 XML 레이아웃을 빌드할 수도 있다.
<?xml version="1.0" encoding="utf-8"?> <LinearLayout xmlns:android="http://schemas.android.com/apk/res/android" android:layout_width="match_parent" android:layout_height="match_parent"> <TextView android:layout_width="wrap_content" android:layout_height="wrap_content" android:text="Hello XML Layout!!" /> </LinearLayout> -
Activity에 Layout Resource 정의
: 사용할 Layout에 대해 정의를 하고 Layout에 있는 객체에 접근 하여 이벤트를 정의가 가능 앞에서 설명한 "메인 레이아웃 인플레이션"에서 사용한 방법을 통해 정의
-
AndroidManifest.xml에 Activity 정의
: AndroidManifest.xml은 app의 필요한 정보(실행되기 전에 시스템에서 반드시 필요한 정보가 무엇인지)를 정의한다. 이때 Activity도 포함이 되는데 여기서 정의를 하지 않으면 사용이 불가능 하다.
-
정의 방법
: 아래와 같은 형태로 Activity 정의가 가능한데 이때 <application> 의 태그 내부에 들어가야 한다. 여기서 Activity에 대해 정의를 하는 것이 아닌 intent에 대해서도 정의가 가능 하다.
<activity android:name=".MainActivity">
    <!-- android:name에 Activity를 지정해준다. -->
    <intent-filter>
        <action android:name="android.intent.action.MAIN" />
        <category android:name="android.intent.category.LAUNCHER" />
    </intent-filter>
</activity>
-
-
Intent 생성 방법
: Intent 객체를 생성하고 startActivity(Intent 객체)함수를 이용하여 생성이 가능!
Intent intent = new Intent(getApplicationContext(),TestActivity.class); startActivity(intent); -
간단한 Activity 전환 예제 코드
-
xml layout 정의
activity_main.xml
<?xml version="1.0" encoding="utf-8"?>
<LinearLayout
xmlns:android="http://schemas.android.com/apk/res/android"
android:layout_width="match_parent"
android:layout_height="match_parent">

<Button
    android:layout_width="match_parent"
    android:layout_height="wrap_content"
    android:id="@+id/btnNewIntent"
    android:text="New Intent!"/>
    <!-- main에는 Button를 정의, 누르면 Intent를 이용하여 화면전환! -->
</LinearLayout>
activity_test.xml
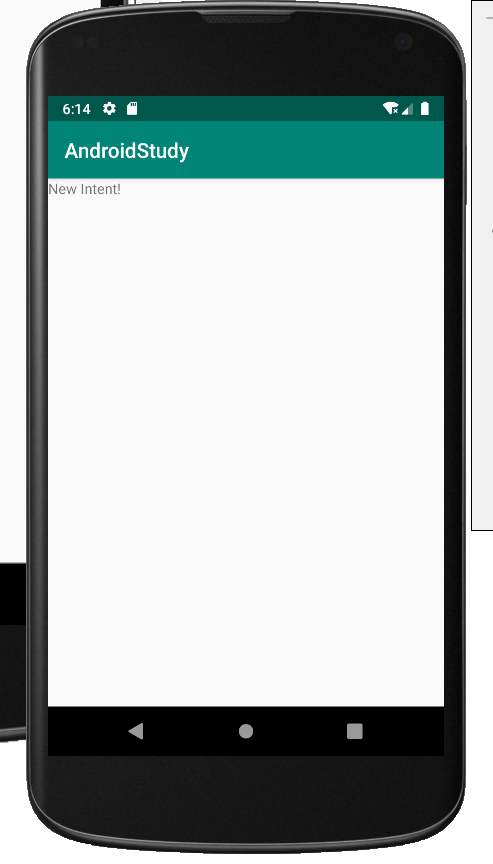
<?xml version="1.0" encoding="utf-8"?> <LinearLayout xmlns:android="http://schemas.android.com/apk/res/android" android:layout_width="match_parent" android:layout_height="match_parent"> <TextView android:layout_width="wrap_content" android:layout_height="wrap_content" android:text="New Intent!" /> </LinearLayout> -
Activity java 정의
MainActivity.java
package dev.jaeseokim.androidstudy;

import androidx.appcompat.app.AppCompatActivity;

import android.content.Intent;
import android.os.Bundle;
import android.view.View;
import android.widget.Button;

public class MainActivity extends AppCompatActivity {

    @Override
    protected void onCreate(Bundle savedInstanceState) {
        super.onCreate(savedInstanceState);
        setContentView(R.layout.activity_main);
        Button newIntent = (Button) findViewById(R.id.btnNewIntent);
        //Button를 정의
        newIntent.setOnClickListener(new View.OnClickListener() {
            @Override
            public void onClick(View v) {
                //버튼 이벤트 발생시 intent 생성
                Intent intent = new Intent(getApplicationContext(),TestActivity.class);
                startActivity(intent);
            }
        });
    }
}
TestActivity.java
package dev.jaeseokim.androidstudy; import android.os.Bundle; import androidx.annotation.Nullable; import androidx.appcompat.app.AppCompatActivity; public class TestActivity extends AppCompatActivity { @Override protected void onCreate(@Nullable Bundle savedInstanceState) { super.onCreate(savedInstanceState); setContentView(R.layout.activity_test); } } -
AndroidManifest.xml에 Activity 정의
AndroidManifest.xml
<?xml version="1.0" encoding="utf-8"?> <manifest xmlns:android="http://schemas.android.com/apk/res/android" package="dev.jaeseokim.androidstudy"> <application android:allowBackup="true" android:icon="@mipmap/ic_launcher" android:label="@string/app_name" android:roundIcon="@mipmap/ic_launcher_round" android:supportsRtl="true" android:theme="@style/AppTheme"> <activity android:name=".MainActivity"> <intent-filter> <action android:name="android.intent.action.MAIN" /> <category android:name="android.intent.category.LAUNCHER" /> </intent-filter> </activity> <activity android:name=".TestActivity"/> </application> </manifest> -
작동 테스트
-
-

'Coding and Linux Study > Android' 카테고리의 다른 글
| 안드로이드 개발자 등록 (0) | 2019.12.10 |
|---|
